

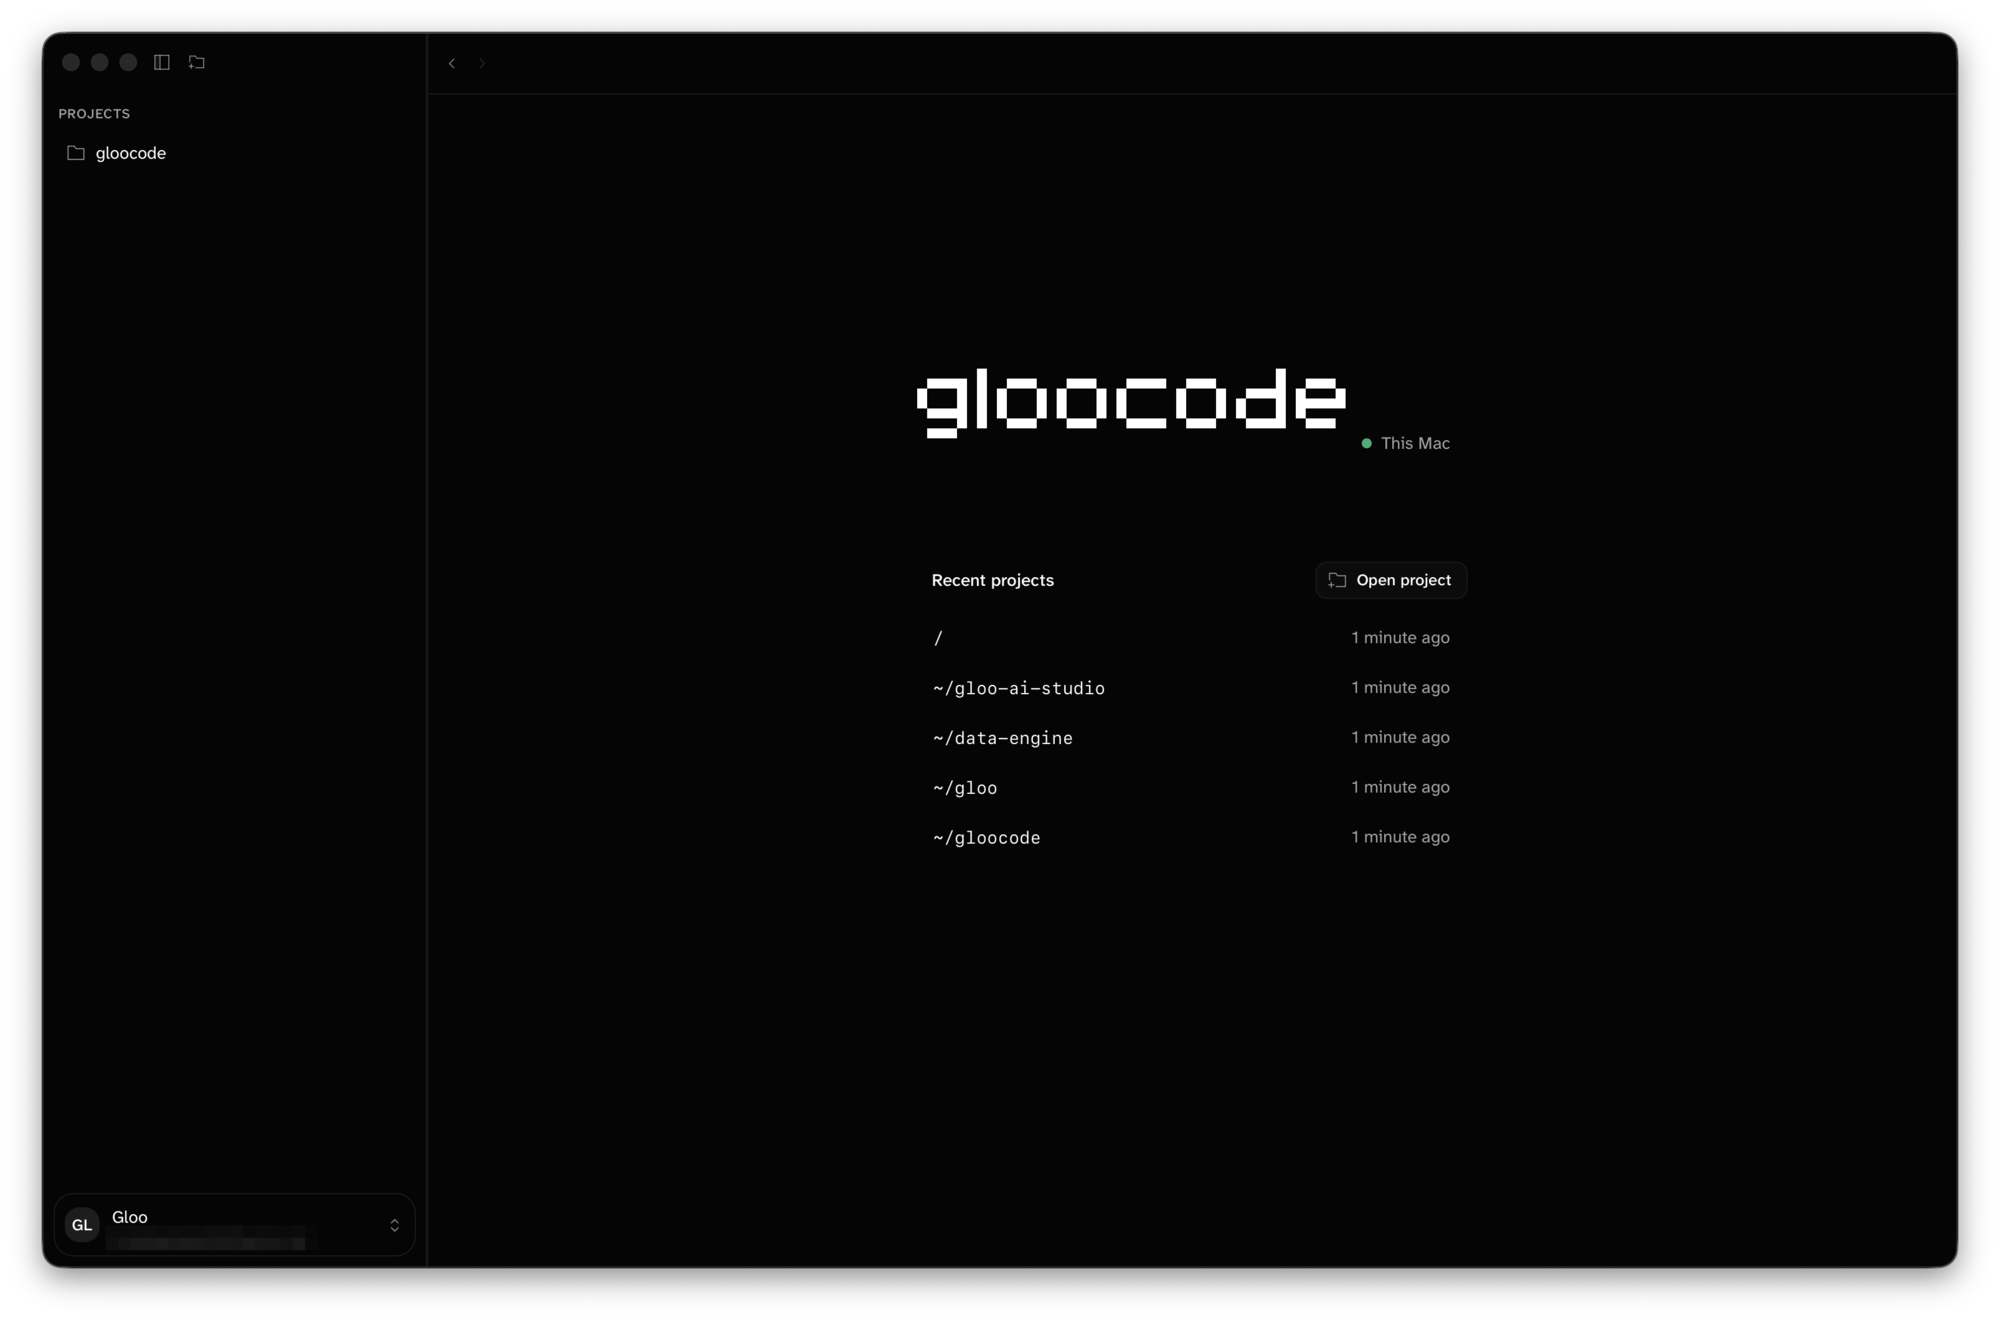
Requirements
- macOS 13 (Ventura) or later, Apple Silicon or Intel.
- A Gloo AI account in an organization with a Gloo Code subscription and a seat assigned to you. Sign up here if you don’t have an account.
Gloo Code Desktop runs on macOS. On other platforms, use the Gloo Code CLI.
Install
1
Download
Apple Silicon
Intel
2
Drag to Applications
Open the DMG and drag Gloo Code into your Applications folder, then eject the DMG.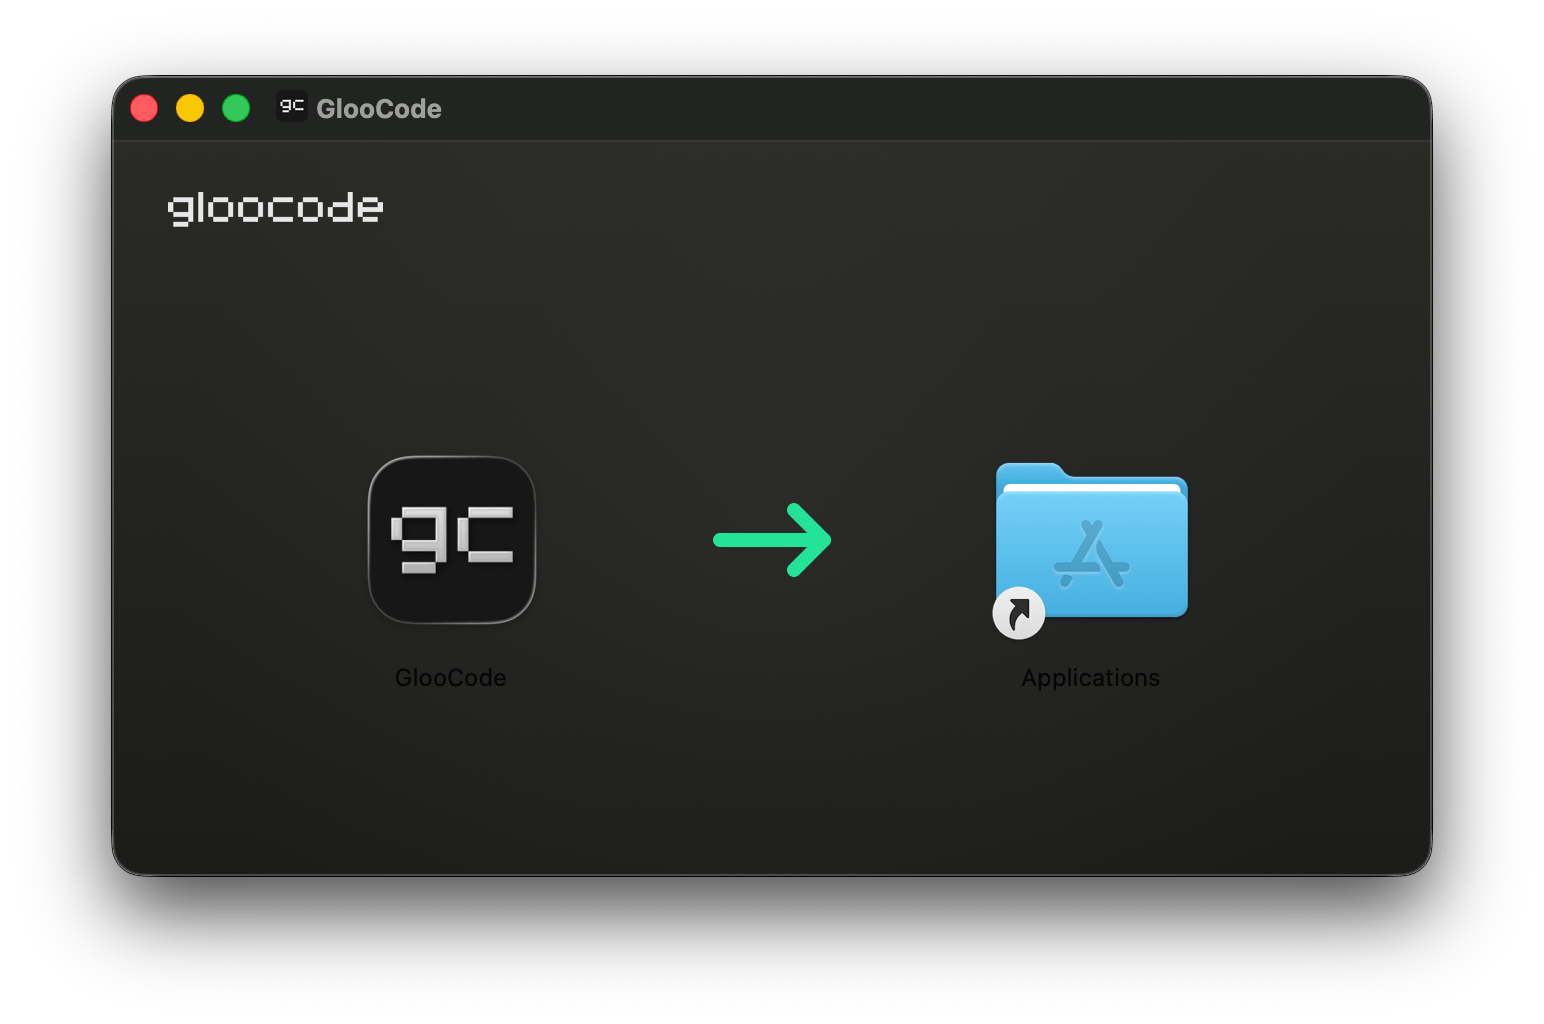
3
Open Gloo Code
Launch it from Applications, Launchpad, or Spotlight — not from inside the DMG. The app is signed and notarized, so macOS opens it without a Gatekeeper warning.
Sign in
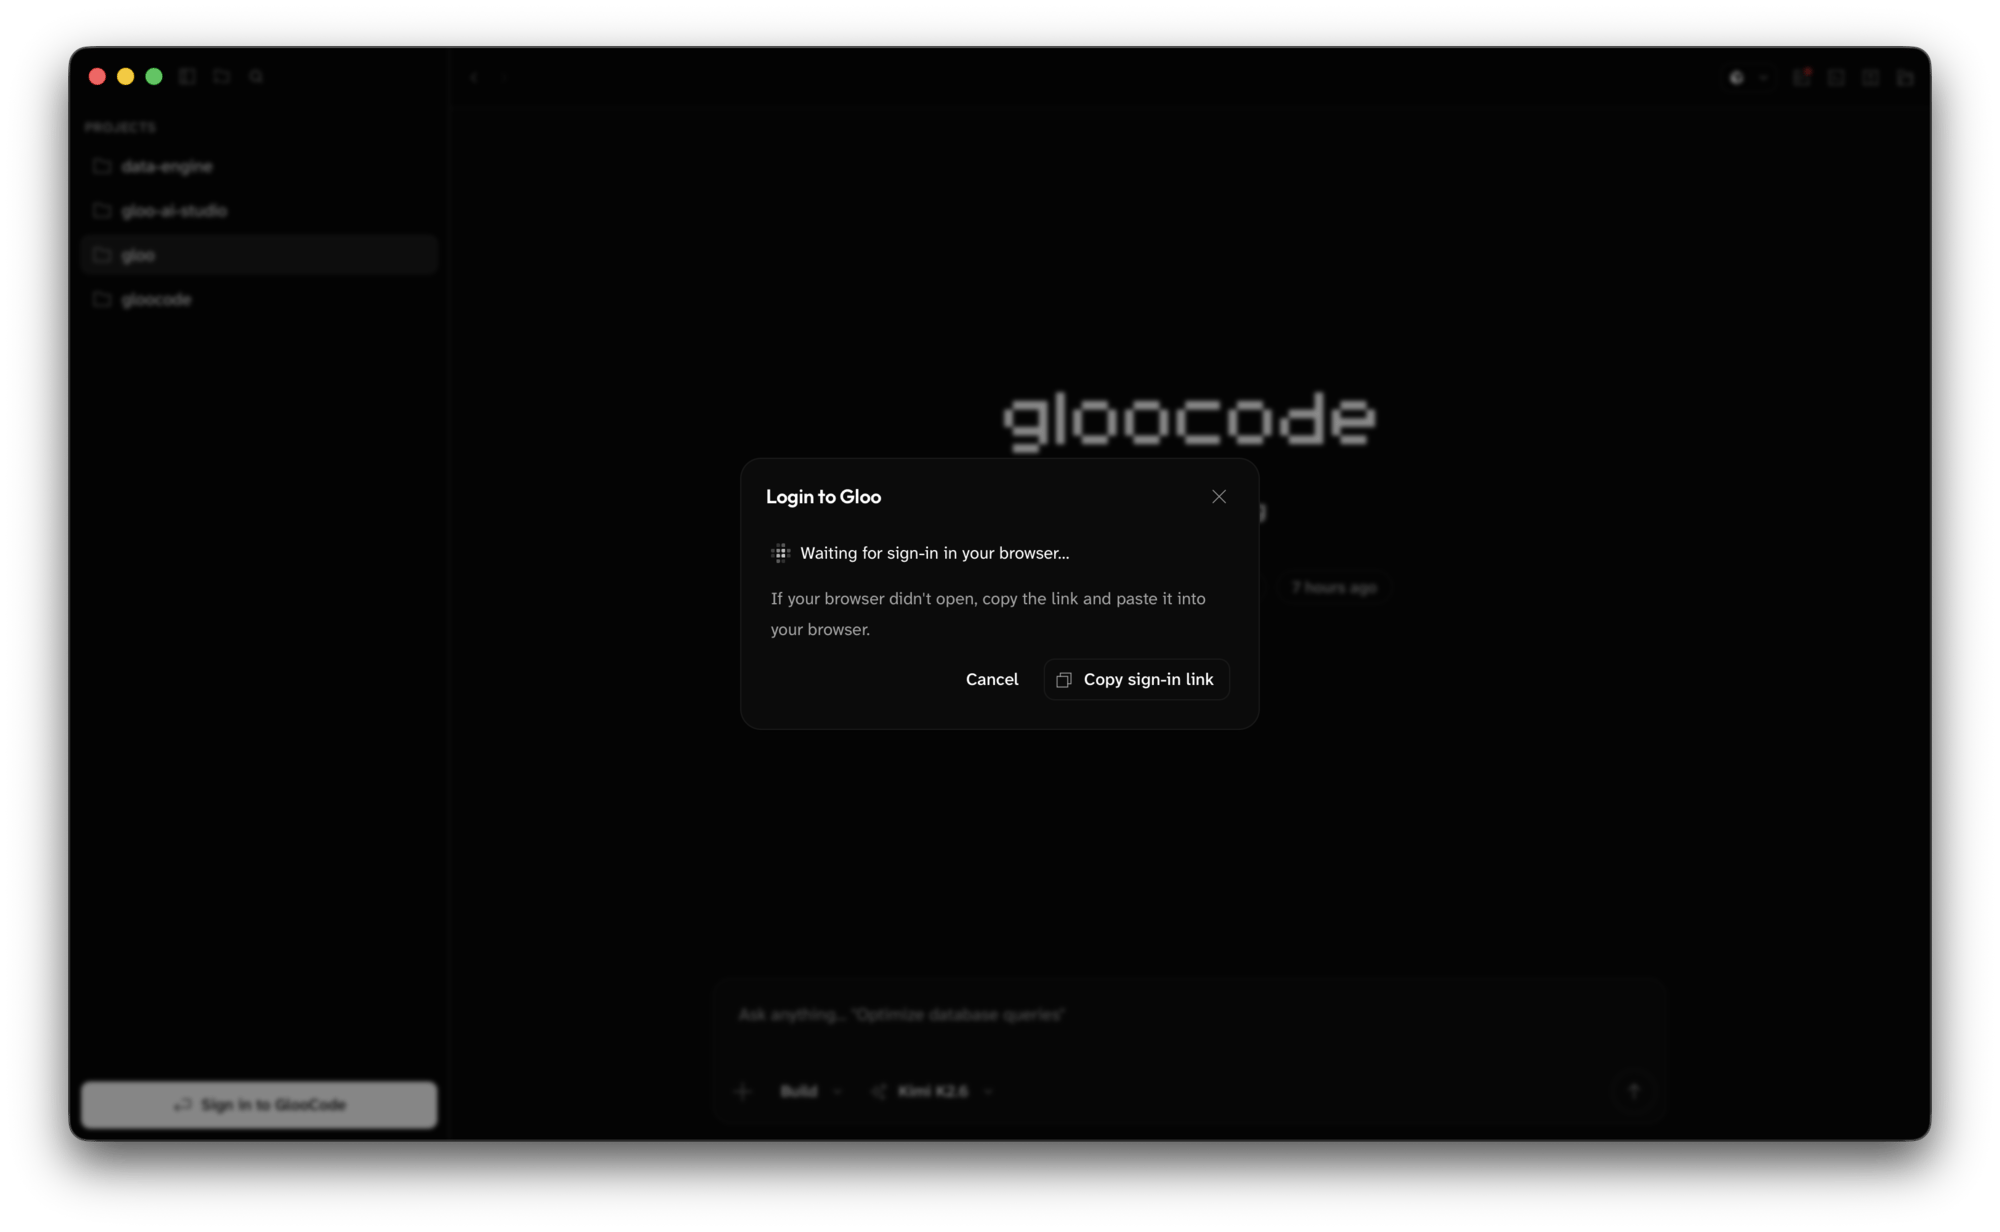
On first launch the Login to Gloo dialog opens on its own.- Click Sign in with browser. Your default browser opens the Gloo AI Studio sign-in page while the dialog shows “Waiting for sign-in in your browser…”.
- Sign in and approve access. The browser shows a Gloo Code success page you can close.
- Back in the app, a Credentials saved toast appears. Your profile card in the bottom-left of the sidebar now shows your initials, organization, and email.
Open a project
Press ⌘O, choose File ▸ Open Project…, or click Open project on the Home screen. A standard macOS folder picker opens; you can select more than one folder at once. Each folder becomes a project in the left sidebar, and Gloo Code opens a new, empty session in it.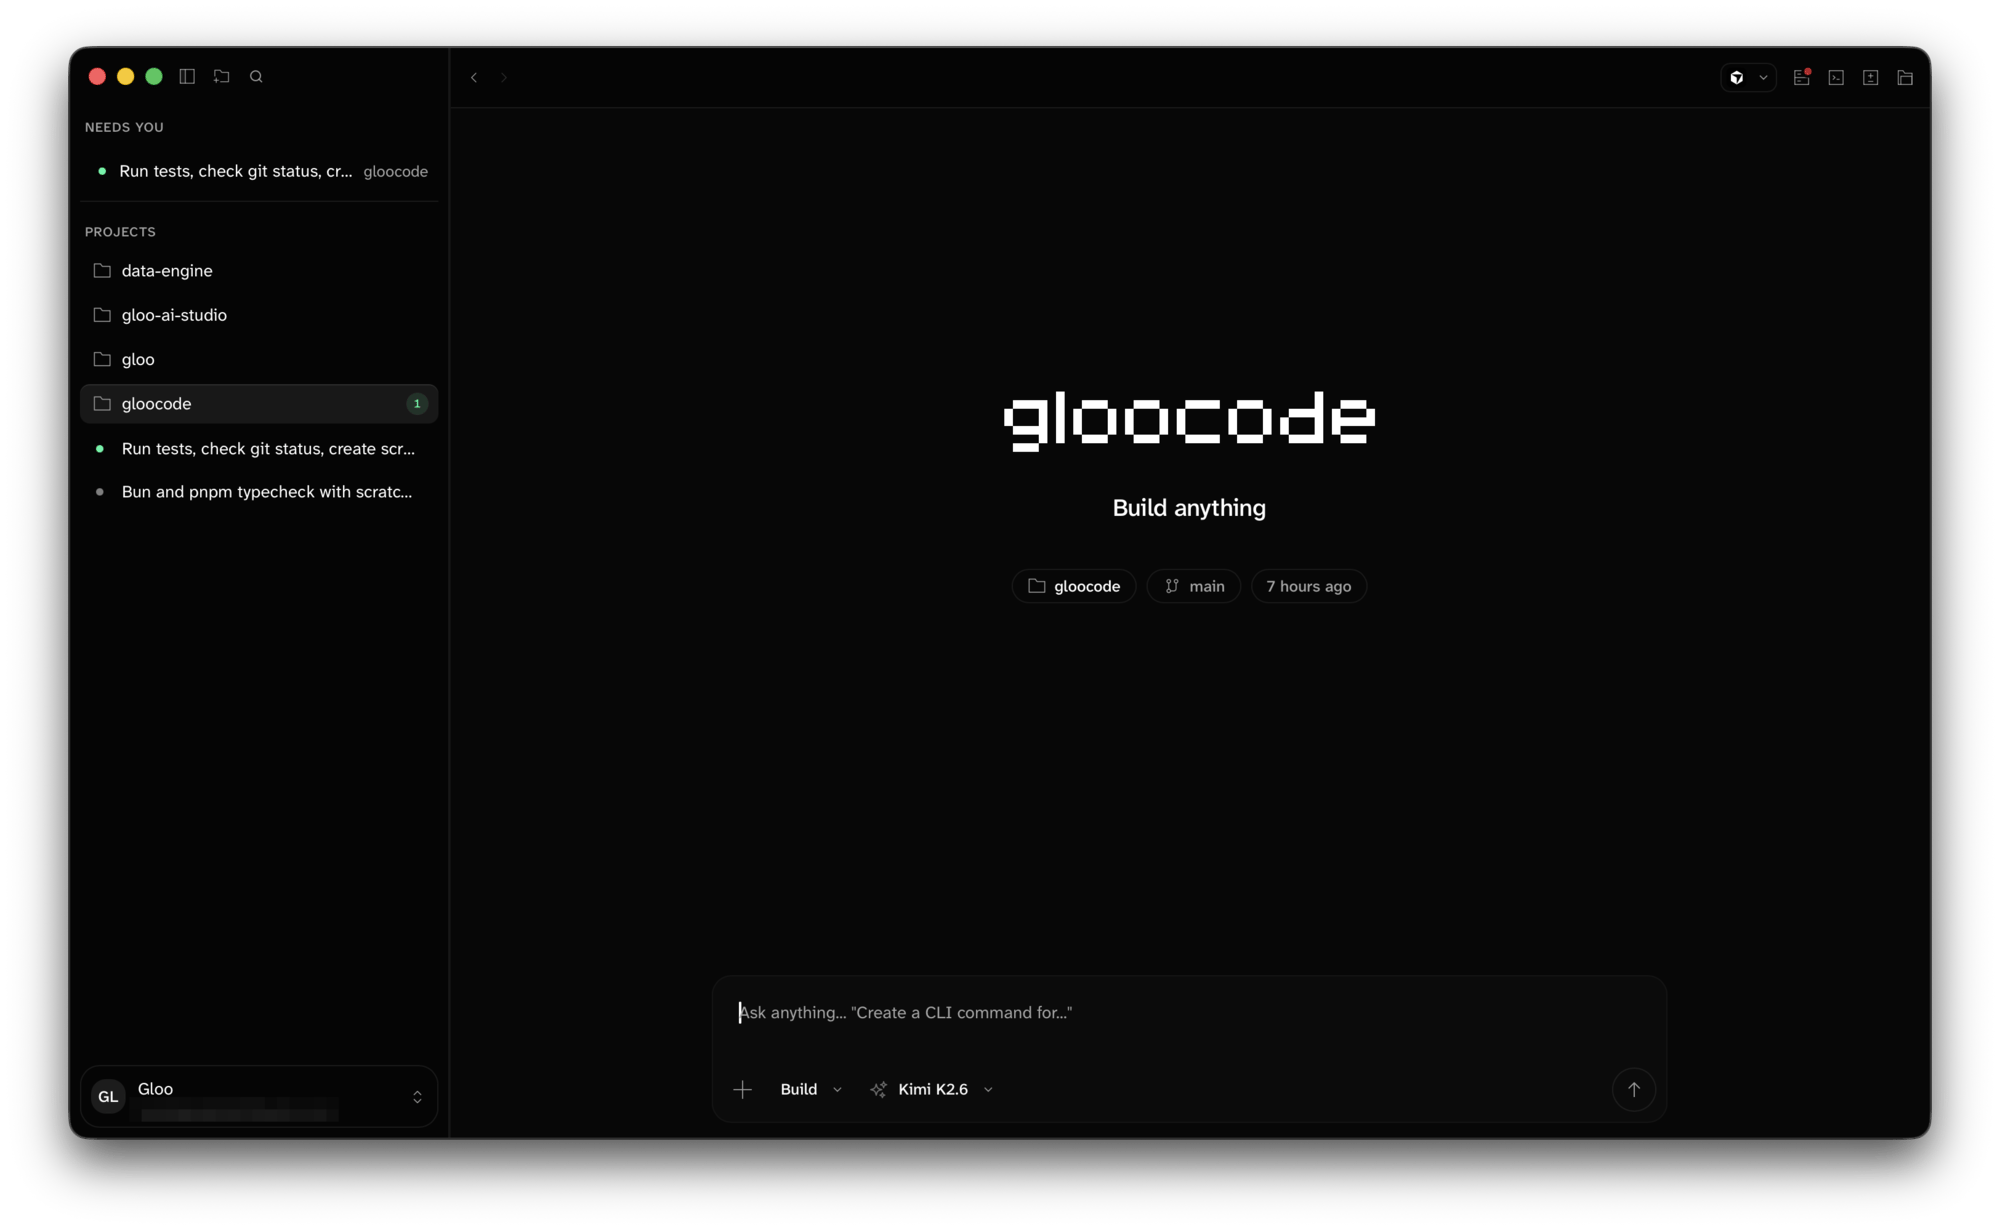
Run your first task
Type a request in the prompt at the bottom and press Enter.- Type @ to mention a project file.
- Press ⌘U or drag files onto the window to attach images, PDFs, or text files. You can also paste an image from the clipboard.
Approve what the agent does
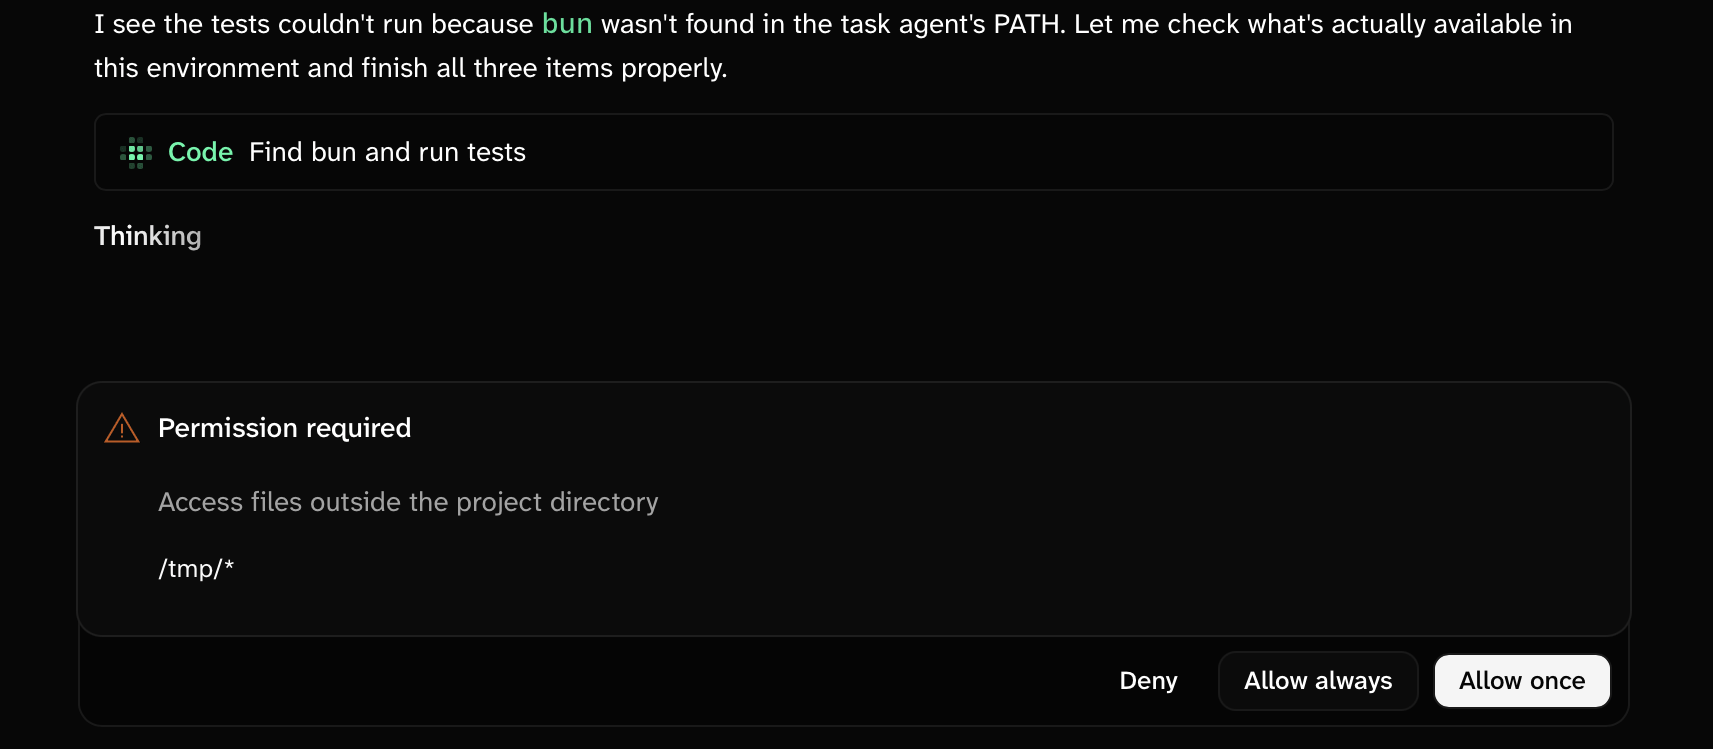
When the agent wants to do something that needs your say, a Permission required dock appears above the prompt. It names the tool, describes it in plain language, and shows the matching path or command pattern.- Allow once runs it this time.
- Allow always stops asking for this pattern in this project.
- Deny blocks it.
Review changes
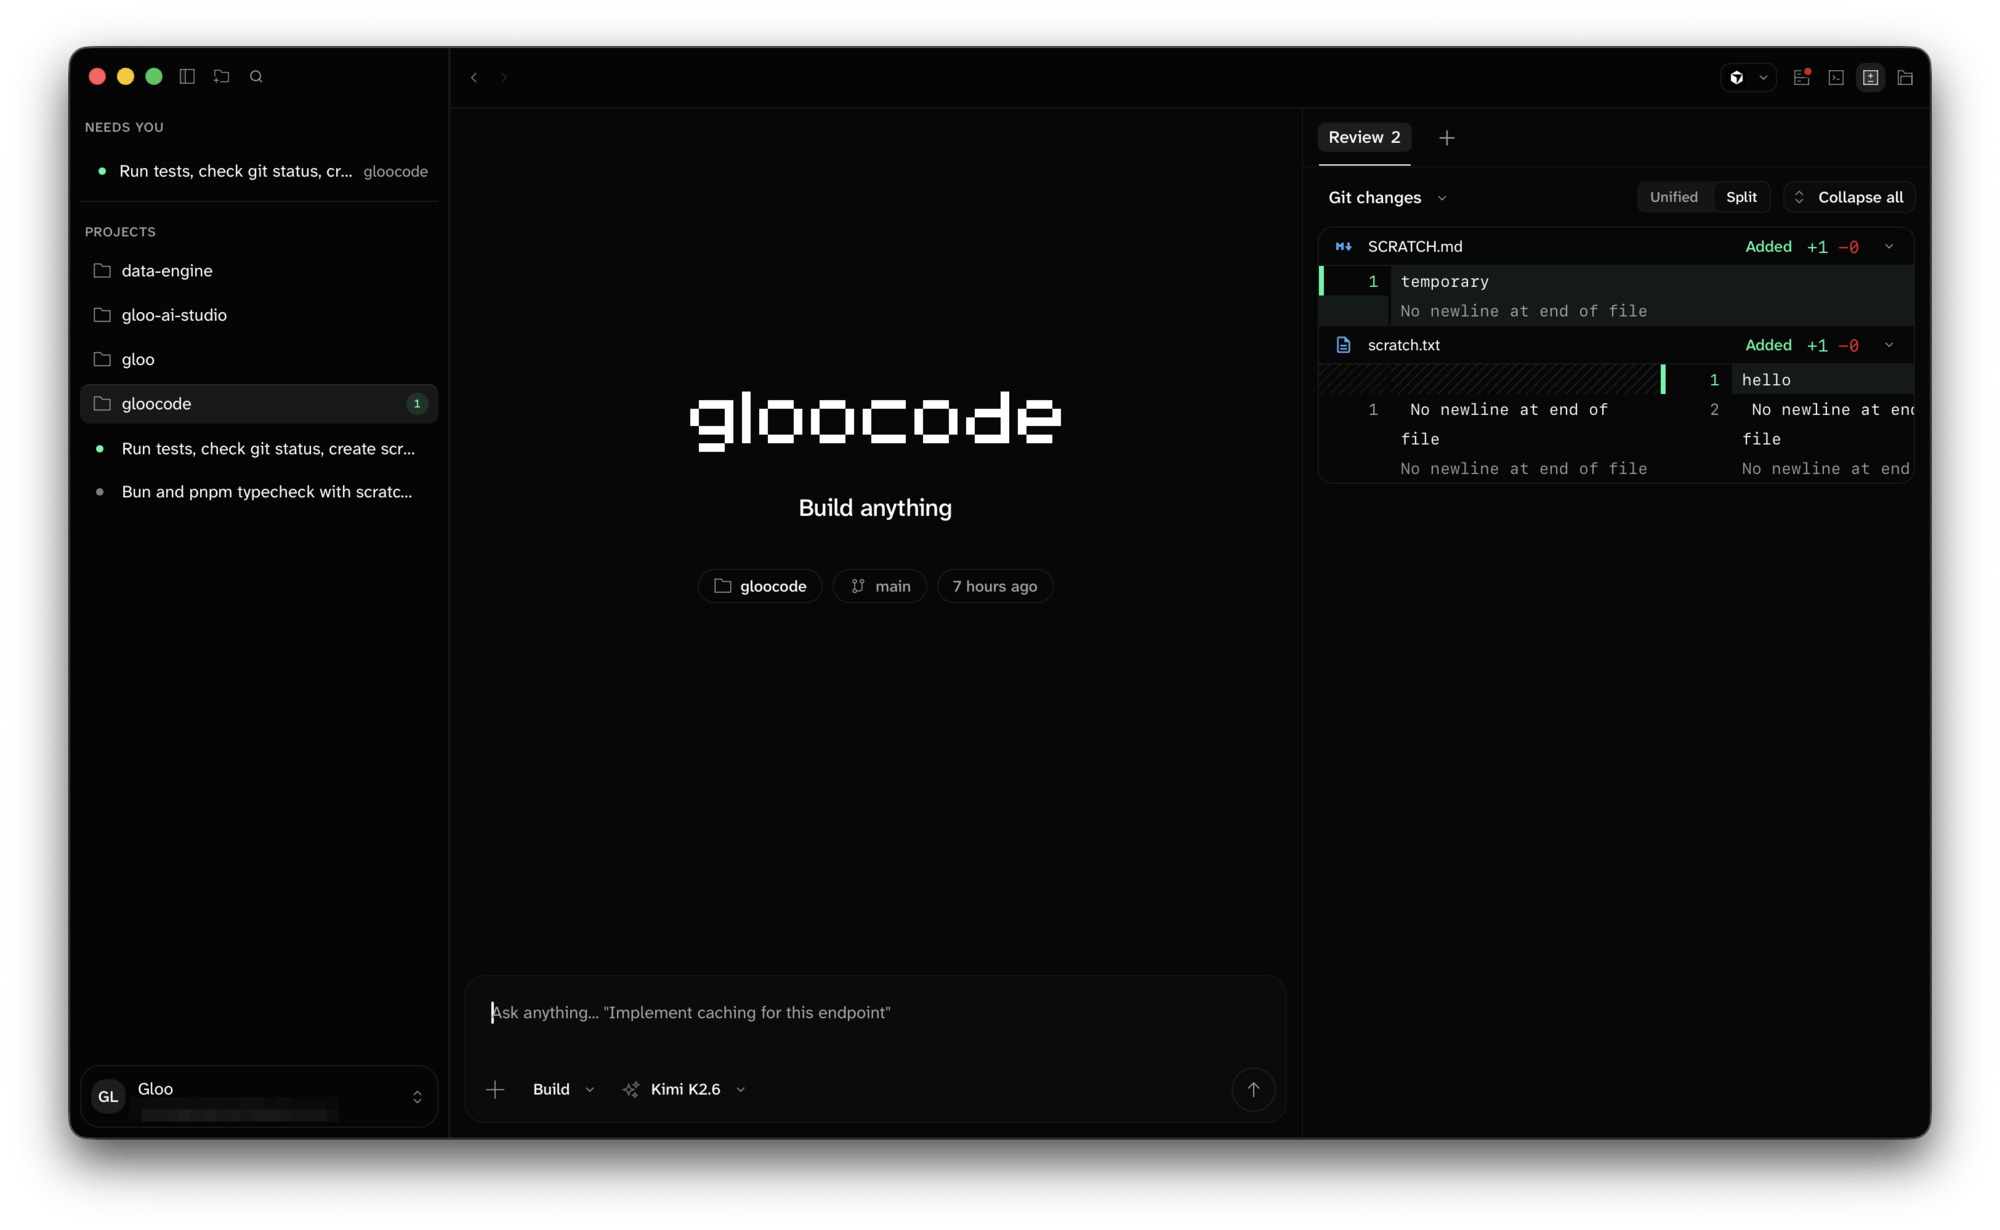
Press ⇧⌘R to open the review panel on the right. The Review tab lists every changed file with Added, Removed, or Modified badges and a unified or split diff. The dropdown at the top chooses what you’re comparing:- Git changes — everything uncommitted in the working tree.
- Branch changes — everything on this branch that isn’t on the base branch.
- Last turn changes — only what the agent just did.
/undo reverts to before your last message and puts that prompt back in the composer so you can rephrase.
If the project folder has no git repository, the Review tab offers Create Git repository so changes can be tracked and undone.
Commit and open a pull request
Choose Commit… in the review panel. Pick the files to include; Gloo Code drafts a branch name, commit message, and PR title and description, and you can edit all of them. Then choose Commit, Commit & push, or Commit & open PR (with a draft PR option). Opening a PR needs a GitHub connection in Settings ▸ GitHub. Click the branch name in the session header to rename the branch or pick another local branch first. See What’s new in Gloo Code.Built-in terminal
Press ⌃` to open a terminal at the bottom of the session. It runs in the project folder. ⌃⌥T opens another tab. The terminal is a plain shell for you; it shares nothing with the agent.Agents
Model selection is automatic. Gloo picks and tunes the model for each built-in agent and for the sub-agents it delegates to, so there is nothing to configure. You choose the agent: Build does the work, Plan reads and proposes without editing.- ⌘. cycles agents.
/agentsopens the picker.
Work across sessions
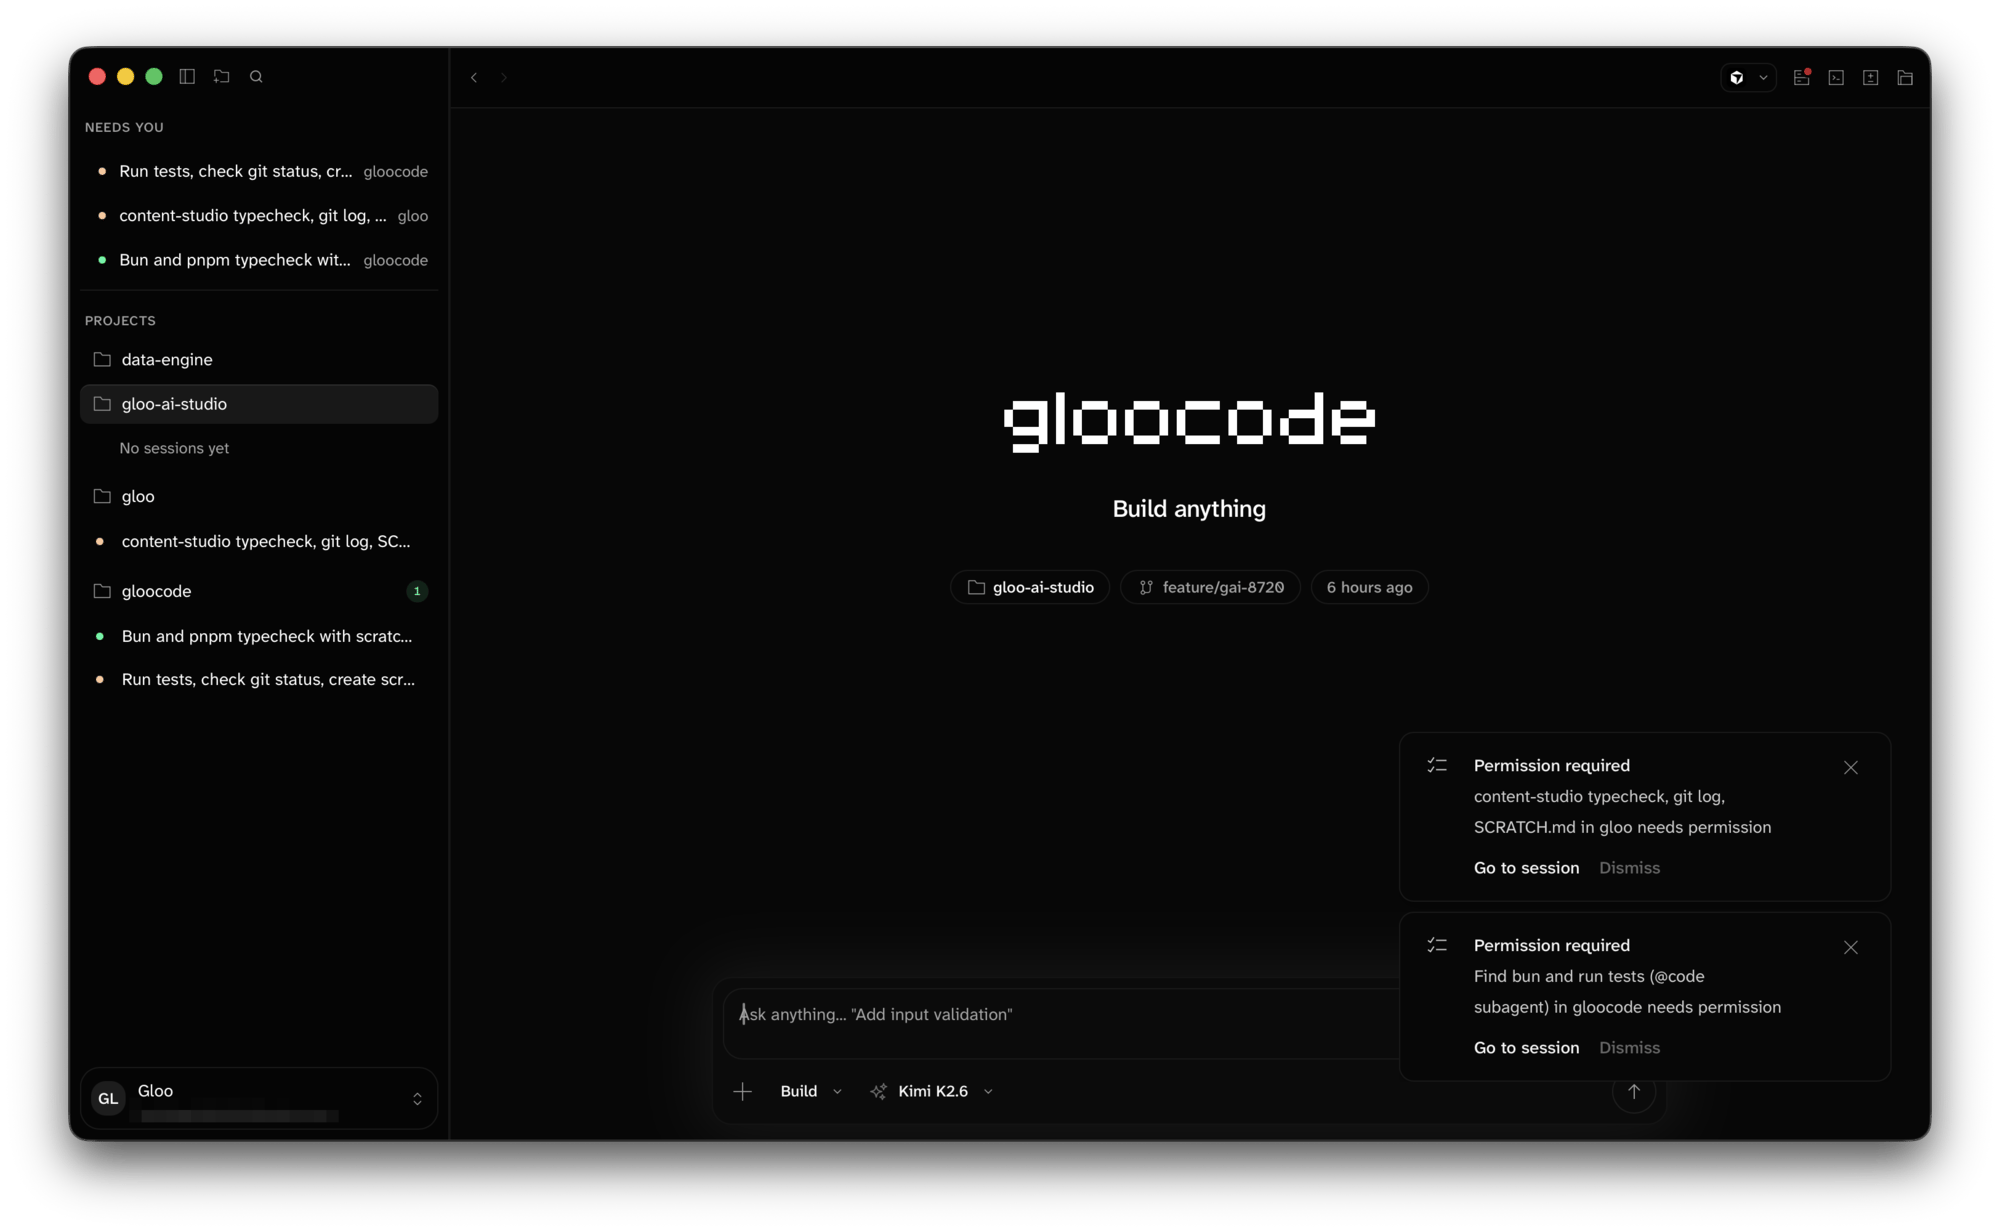
Every session is saved automatically. In the sidebar, each session row has a status dot: amber means the agent is waiting on you, red means an error, a spinner means it’s working, and a highlighted dot means a session finished while you were elsewhere.- ⌘N starts a new session in the current project. The + on a hovered project row does the same. ⌘K searches sessions across projects.
- ⌘T opens a new tab, Ctrl+Tab moves between tabs, and you can drag tabs to reorder them. Choose Open in new tab on a session to open it in its own tab.
- If a turn fails or you stop it, its output stays. On the newest turn, choose Retry or Continue.
- ⌥↑ / ⌥↓ move between sessions. ⌘⌥↑ / ⌘⌥↓ move between projects.
- The ⋯ menu in the session header offers Rename, Delete, Export transcript…, and Open in New Window.
- File ▸ New Window (⇧⌘N) opens a second full window. Both windows share the same server, so sessions stay in sync.
Notifications
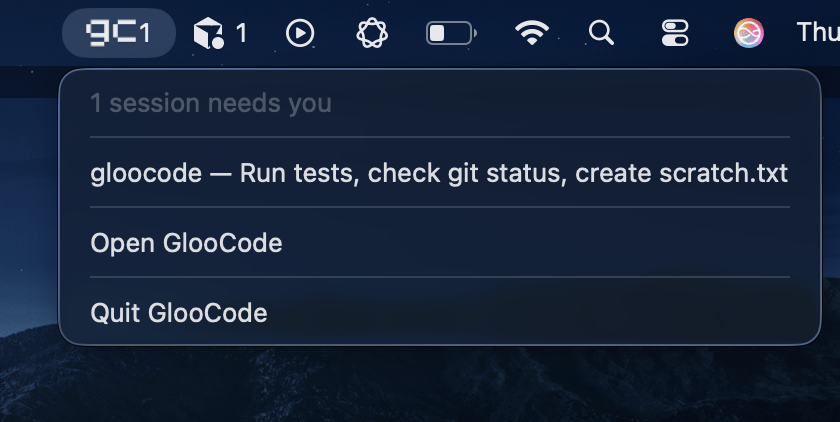
Gloo Code posts a macOS notification when a session finishes, needs a permission, or hits an error, but only while the app window isn’t in front. Click the notification to jump to that session. Individual notifications and sounds are toggled in Settings ▸ General.Allowance
A ring beside Send shows how much of your Gloo Code allowance is used. It changes colour as you approach the limit, with a warning at 80% and the limit at 100%. Click it for the reset date, View usage, and, for admins, Top up. At 100%, the error card gives admins Top up and I’ve topped up, keep going, and shows members who to ask. See Allowance and top-up.Settings
Gloo Code ▸ Settings (⌘,) is a set of grouped, searchable pages, including General, Shortcuts, Usage, Safety, and connectors for GitHub, Notion, and Linear. The app version is in the bottom-left corner. See Notion and Linear and Safety settings.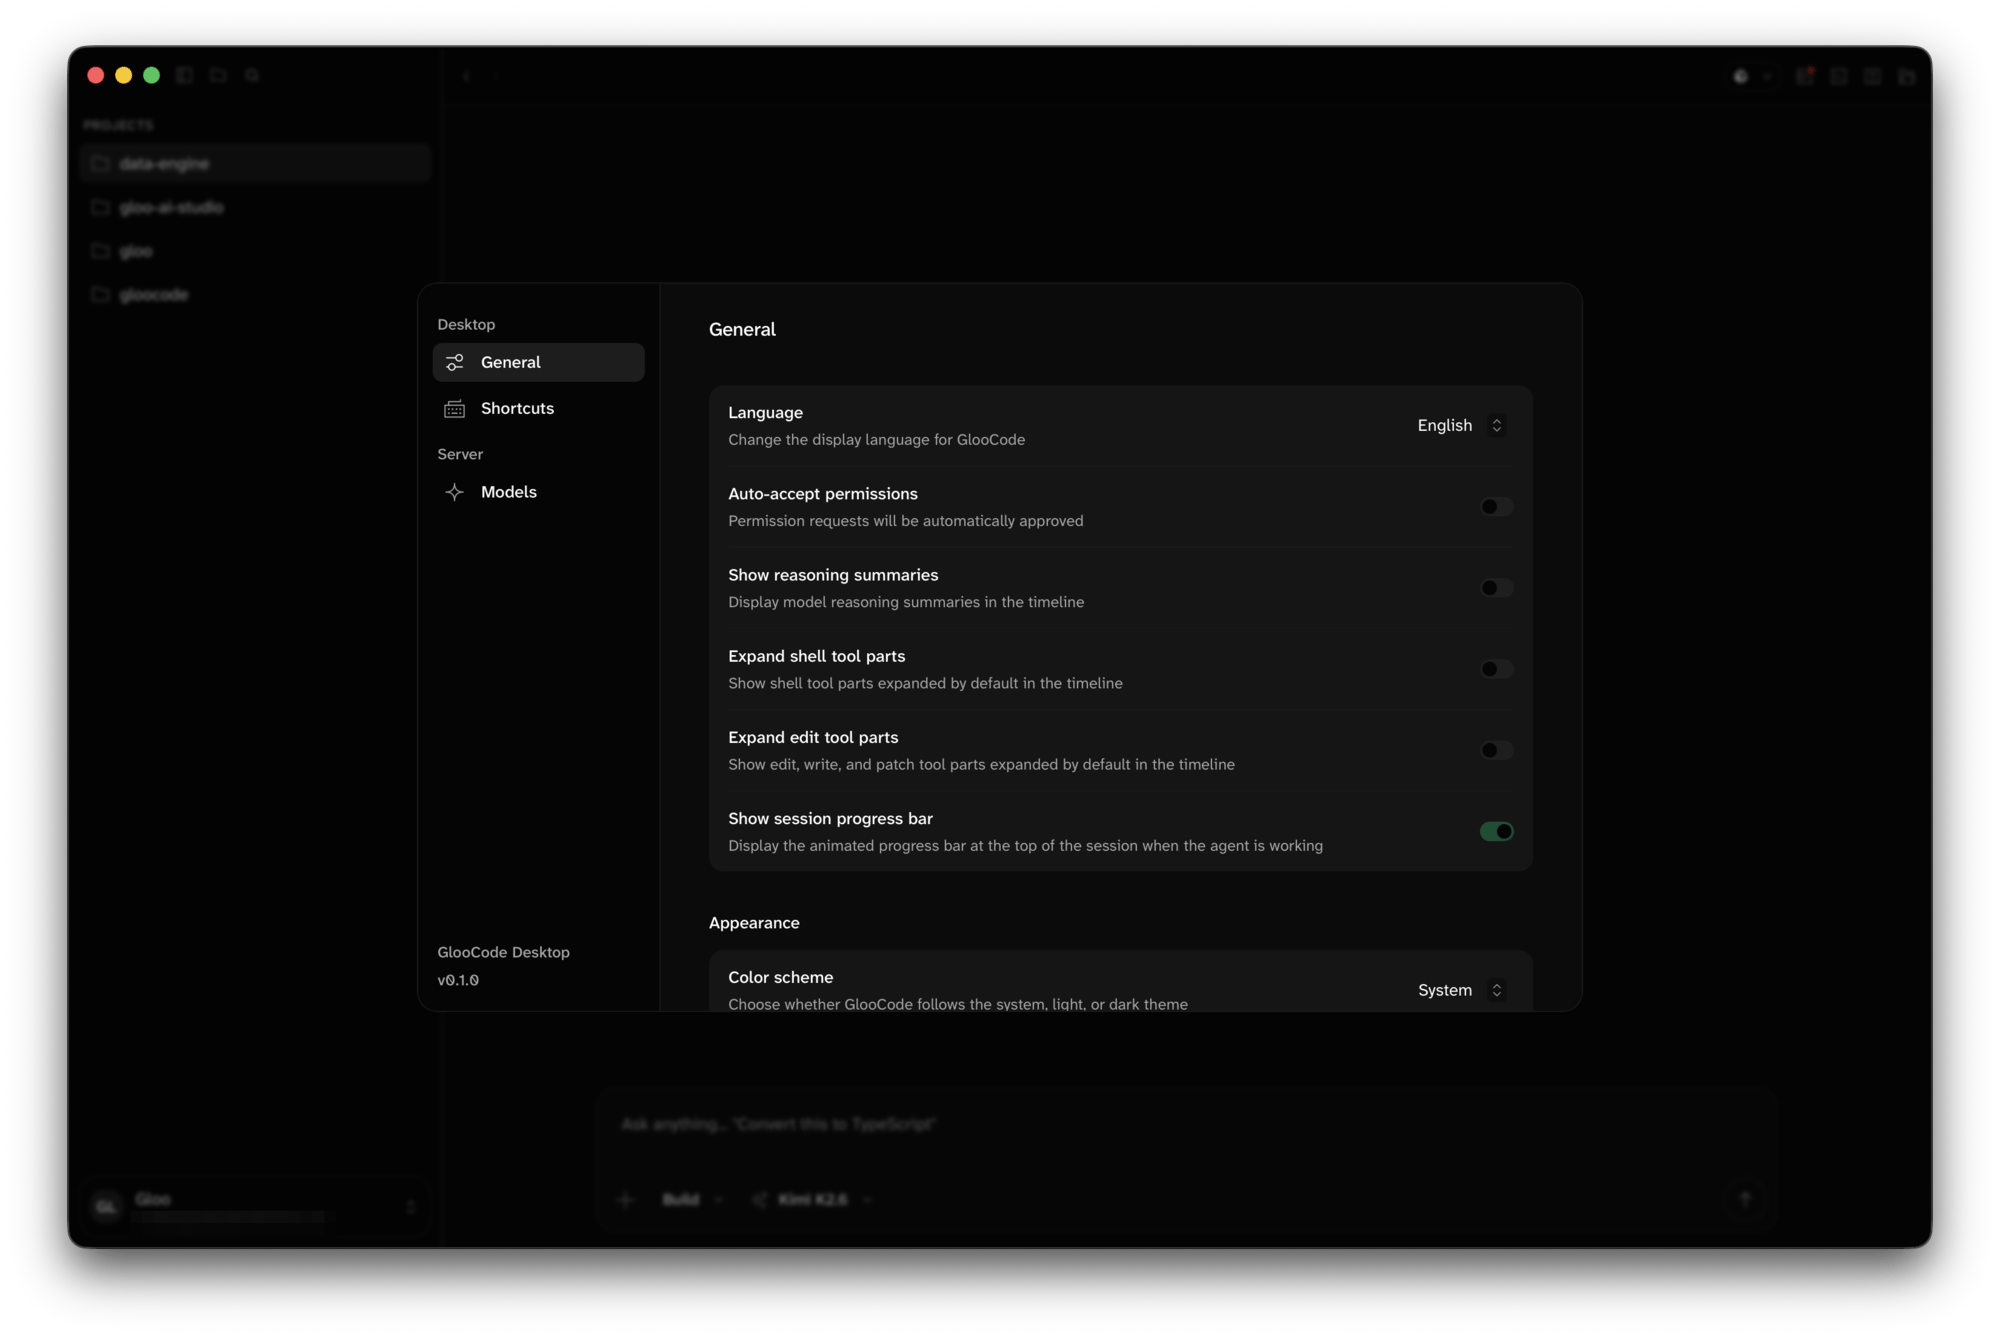
Shortcuts lists every command with its binding. Click a row and press new keys to rebind; Reset to defaults restores everything.
MCP servers, custom agents, and skills are configured through files in the project or home directory. Ask Gloo Code how, or see Ask Gloo Code.
Keyboard shortcuts
Every shortcut can be changed in Settings ▸ Shortcuts. Defaults:
Shortcuts without a modifier are ignored while you’re typing, and all shortcuts pause while a dialog is open. Type
/help for an in-app cheat sheet.
Updates
The app checks for updates at launch and prompts you to Install and restart when one is available. To check manually, choose Gloo Code ▸ Check for Updates….Where things are stored
Troubleshooting
The window is blank or stuck
The window is blank or stuck
Choose Gloo Code ▸ Reload Webview. If that doesn’t help, Gloo Code ▸ Restart.
“The bundled gloocode server did not start in time”
“The bundled gloocode server did not start in time”
Quit and reopen the app. The app starts its own local server on launch and restarts it automatically if it crashes; if this message persists, check for another process holding many local ports.
The browser didn't open on sign-in
The browser didn't open on sign-in
Use Copy sign-in link in the login dialog and paste it into a browser.
Sign-in says my account has no eligible organizations, or billing doesn't allow API keys
Sign-in says my account has no eligible organizations, or billing doesn't allow API keys
Contact your organization’s Gloo AI admin. The app can’t proceed without an eligible organization.
Notifications never appear
Notifications never appear
Allow notifications for Gloo Code in System Settings ▸ Notifications, and note they’re suppressed while the app window is in front.
The terminal says Connection Lost
The terminal says Connection Lost
The bundled server restarted. Close the terminal tab and open a new one with ⌃⌥T.