Gloo AI Components are ready-to-use widgets that you can integrate into your own applications to leverage the power of the platform. The primary component available in Studio is AI Discovery. The AI Discovery component is an embeddable widget that enhances your content with intelligent search capabilities. It allows your users to search by topic or question, sourcing results from your ingested and enriched data. This guide will walk you through the process of building and deploying the Discovery widget.
Please note that this is a beta version of the AI Discovery component which is still undergoing final testing before its official release.

The Widget Builder

The entire creation and customization process is handled in the five-step Widget Builder. AI Discovery Widget Builder

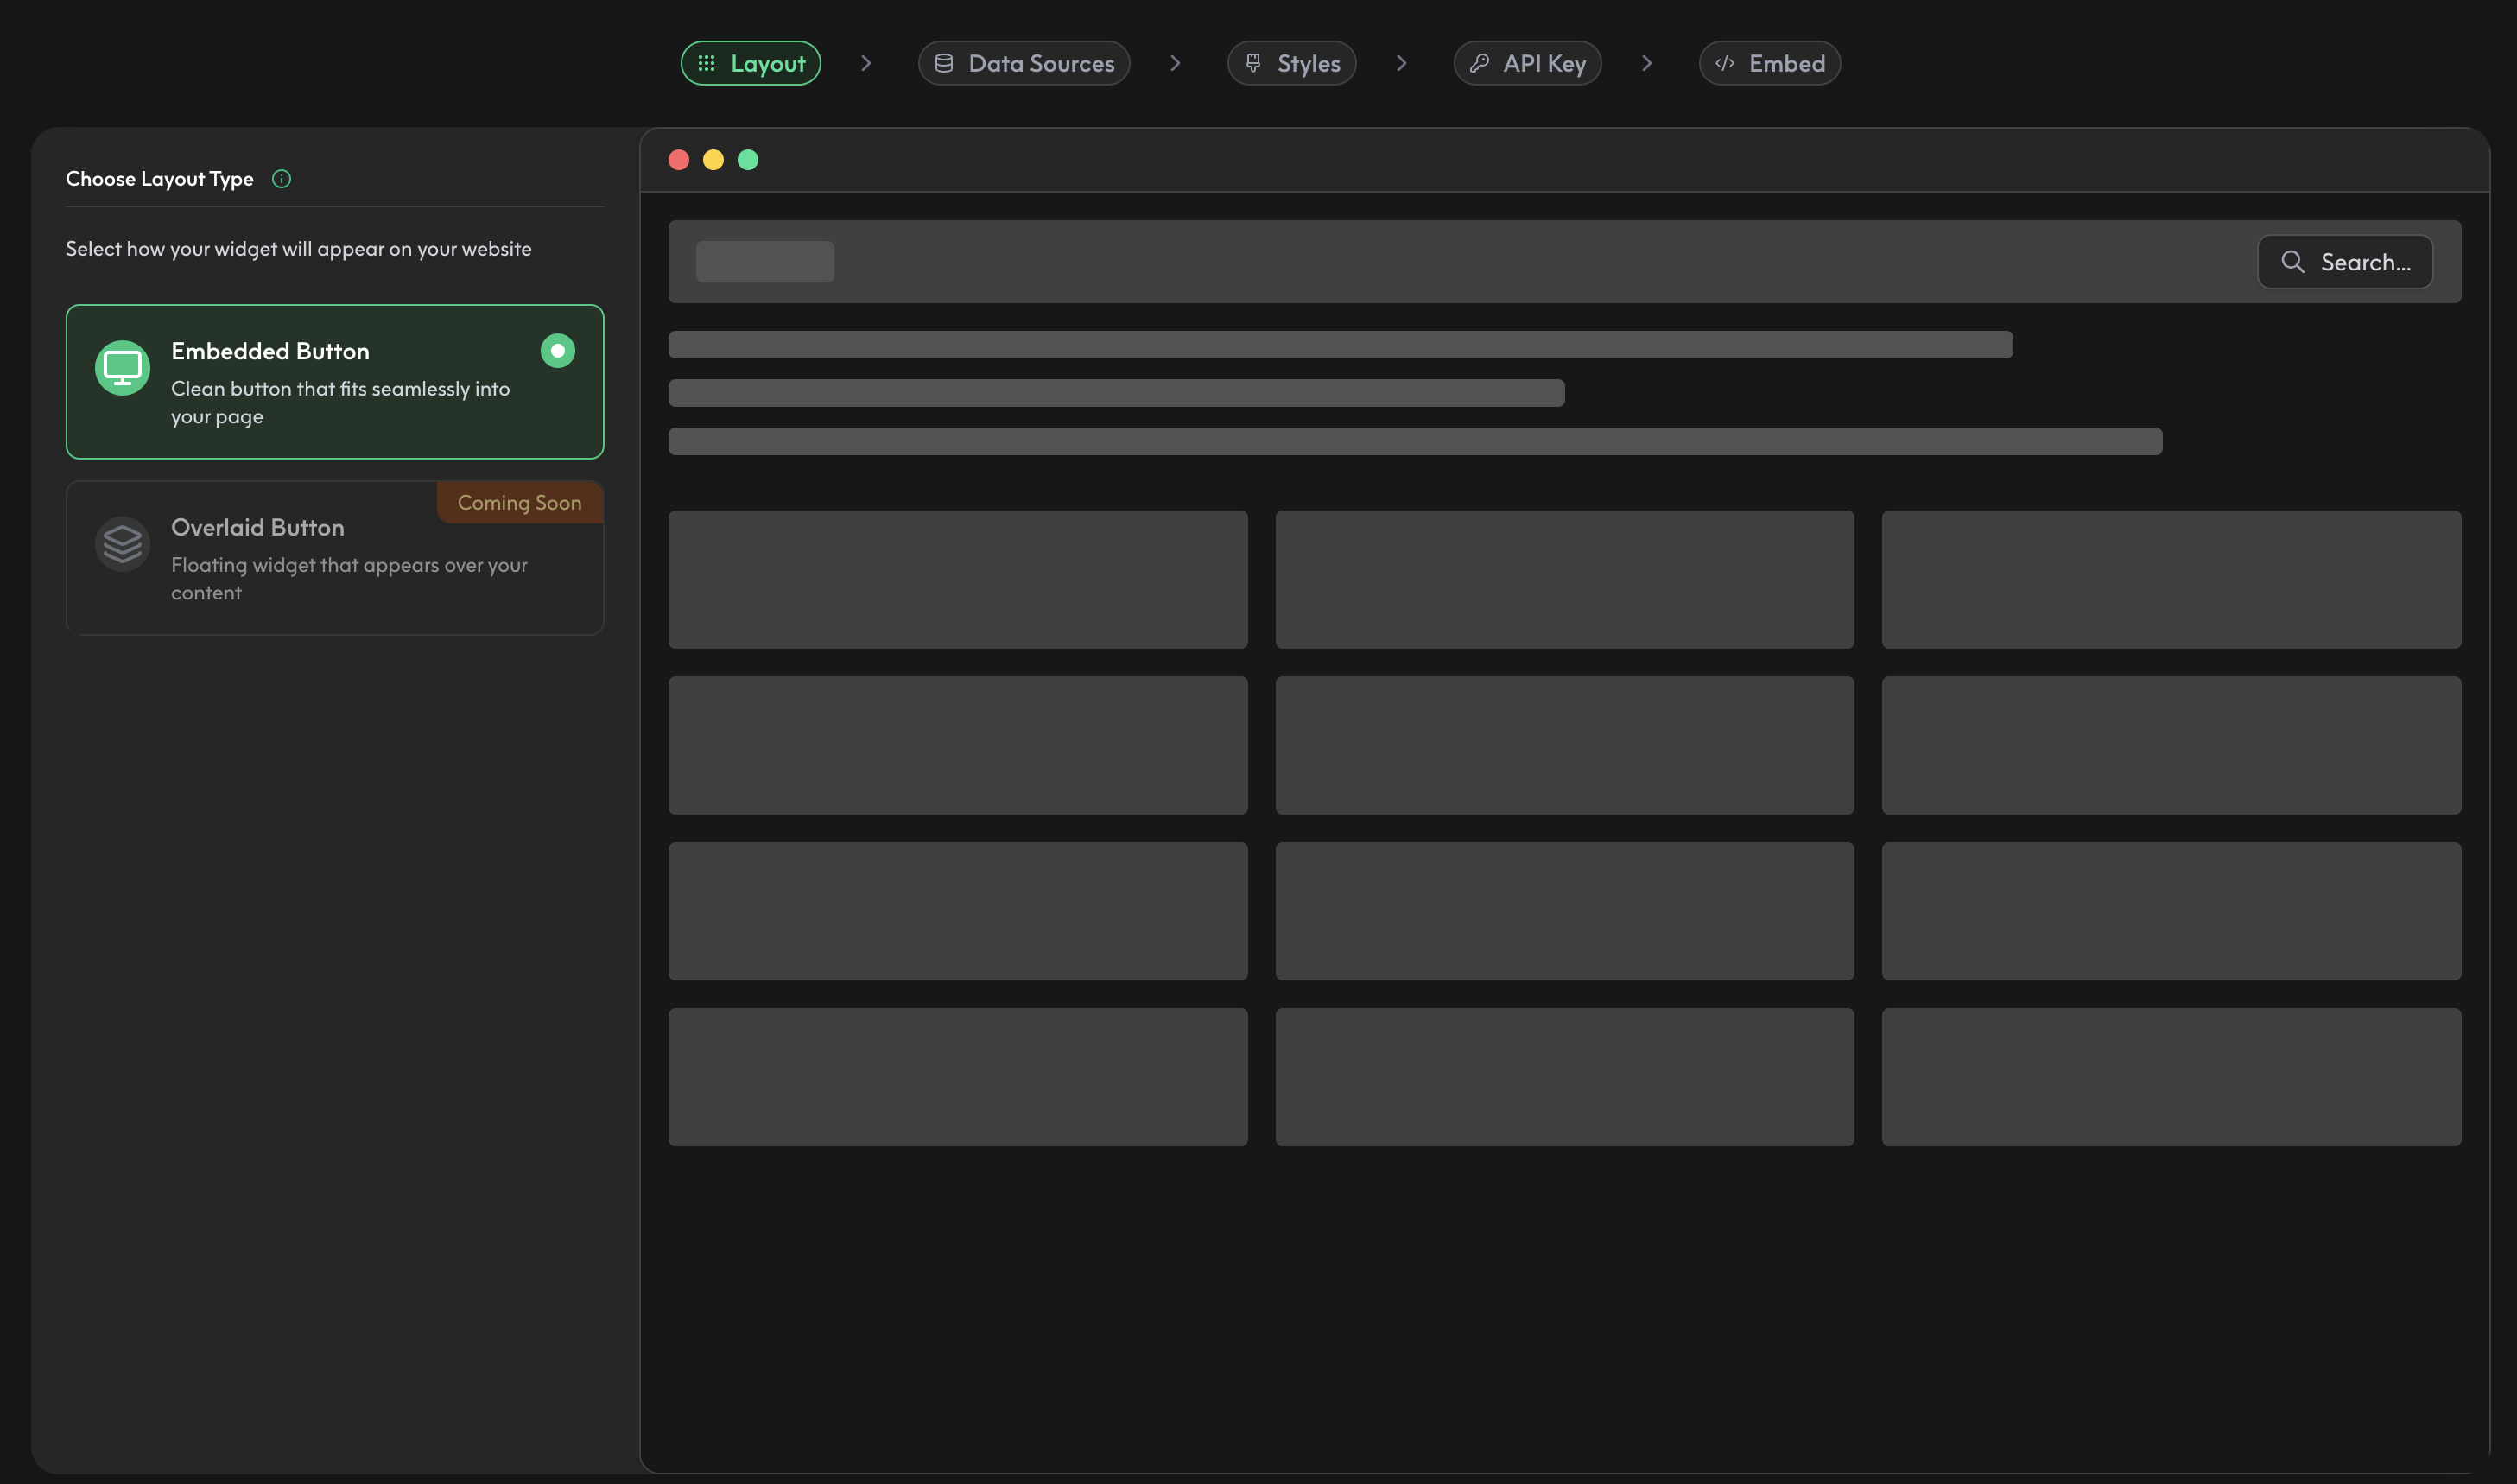
Step 1: Access the Widget Builder

  1. In the Studio sidebar, click on Components.
  2. Select Discovery from the sub-menu.
  3. Tap on an existing widget card to manage its configuration or select “Create New Widget” to start building a new one.

Step 2: Customize Your Widget

The builder will guide you through four configuration tabs:
  1. Layout: Configure the layout of search results (choose between horizontal cards or vertical cards) and set placeholder text for the search input fields.
  2. Data Sources: Configure your data sources including:
    • Publisher to use for searching content
      • If you don’t have an existing publisher, a prompt will guide you to create one via Organizations.
    • Typesense collection
  3. Styles: Customize your widget by adding your logo.
  4. API Key:
    • Select an API key from the dropdown.
    • Define the allowed domains where the widget can be embedded.
If there are no API keys available, click “Create an API key” and you’ll be redirected to the API Credentials page. See our guide on Managing API Credentials.
Ensure you save your widget configuration in this step—it will then appear in your widget dashboard.

Step 3: Embed Your Widget

When you save a new widget configuration, the Widget Builder will automatically bring you to the fifth and final step, where it will generate an embed code. Simply copy this code and paste it into the HTML of your website where you want the widget to appear.

Editing Widgets

You can manage your existing widgets at any time. From the Discovery page, select the widget you wish to modify from the dashboard. You can then change any of the four steps (Layout, Data Sources, Styles, API Key) and save the updated configuration by clicking “Update Configuration” on the API Key step.